I knew I was going to be overseas for seven weeks, staying mostly in hostels, and that I wanted to pack as light as possible while dabbling in some fairly serious photography.
This article wanders a bit, but I’ll try to cover the packing philosophy I used, the key decisions I made, and provide a list of everything I carried.
In the end it felt like I had everything needed, and my total packed weight wound up being just under 20 pounds; including the clothes on my back and the shoes on my feet.
This kit worked great for my needs in Singapore, Bali, Thailand, Cambodia, and Vietnam.
The philosophy
An expression I’ve heard before is “we pack our fears”. This comes from the outdoor backpacking community, where people often over-pack by trying to ensure that every worry and concern is accounted for. I think it also happens when we board a plane for another city.
So when it came time to pack for Asia, I wanted to apply as much of the ‘ultralight’ backpacking mentality as possible. Everything carried has a way of holding us back. It makes check-in, check-out, and every plane or bus ride a pain.
Maybe you carry so much that you can’t take a rented scooter to a new hostel, or city. Perhaps a mid-day hike between destinations is impossible — because there is nowhere to secure your belongings. Maybe your 3 hour layover in a coffee shop becomes a huge hassle. If you’ve never tried it, I can’t recommend it enough. There is a reason that many veteran travelers wind up carrying so little, and you’ll never know until you give it a chance.
Start by not packing all of those ‘just in case’ items. If you don’t know exactly when you’re going to be using that thing, don’t put it in your bag.
Remember that you’re headed to cities people spend their entire lives in. They’ll have anything you need, and much of it will be cheaper than you’ll find back home.
There are a few exceptions though, and I’ll cover those towards the bottom.
Let’s get started!
Figure out the priorities
It’s important to decide what matters most to you, and then optimize your packing to achieve those goals.
I had to first pick my priorities so I could determine what I really needed, and prepare for everything that would be expensive or hard to figure out while abroad. Once I had my priorities accounted for, I felt much safer knowing that everything else would just be minor details.
Here were my priorities:
- Take, edit, and publish photographs while on the road
This was a big one. Committing to carrying photography equipment adds a bunch of weight, and it’s expensive and relatively delicate. It also meant that I’d need to pack light everywhere else to help make up for it. - Be able to read, write, and entertain myself — or work on things
- Pack fast and light, so I could have everything on me if needed
- Carry my camera everywhere, and be able to protect it and my electronics
Ditching the laptop
Since many of my priorities revolve around technology, a particular point of debate was whether I wanted to take a laptop with me. Since this wasn’t primarily a working trip I knew I didn’t need it, but for editing photos, booking accommodations, and researching activities I didn’t want to be stranded with just a phone.
Enter the iPad
I’m a bit ashamed to admit it, but getting an iPad wound up being a great solution — and it saved a bunch of weight. Not only did my 15” laptop weigh twice as much as the iPad, but it’s charger and case were also ~twice as heavy as their iPad equivalents. The final factor was that the size of a laptop can often necessitate a different type of backpack. A large, delicate, rectangular object can really put a damper on packing flexibility.
An iPad doesn’t need quite the same care, the battery lasts significantly longer, it can be charged with your phone charger, and the smaller profile makes it more suitable to working on airline trays, busses, and the often small tables in Asian cafes. As of 2018, new improvements to iOS 11 have also made the iPad a more capable competitor to a laptop.
Although I would occasionally run into a website where the mobile browser caused a bit headache, I found the iPad, paired with a keyboard cover, to be a very reliable and fun replacement for my laptop. Although it won’t fulfill all my needs in everyday life, I found it to be a perfect travel companion.
Using the iPad also forced me to rethink my workflow and some of the tools I use. As a gadget and app junkie, I felt that alone was a worthwhile and enjoyable exercise.
And very importantly, I’m happy to say that when paired with the SD Card reader (Amazon) it did work for my photography needs.
Photography
Once the iPad was decided upon, it was onto the camera and accessories. I took two lenses to help mix it up a bit, and then worked to keep everything else (like the tripod setup) as light as possible. The result worked very well. I was able to carry the camera everywhere and shoot a variety of shots under different conditions.
Camera and lenses
- Canon 5D Mk iii (Amazon)
My current camera, and although it might be a bit large, and a bit heavy, but it’s a real-deal professional camera that easily deals with low light and adverse conditions. - Sigma 35mm 1.4f art (Amazon)
After much research, I picked this as my primary lens a few years ago. It’s absolutely fantastic and I love it. - Rokinon 14mm 2.8f (Amazon)
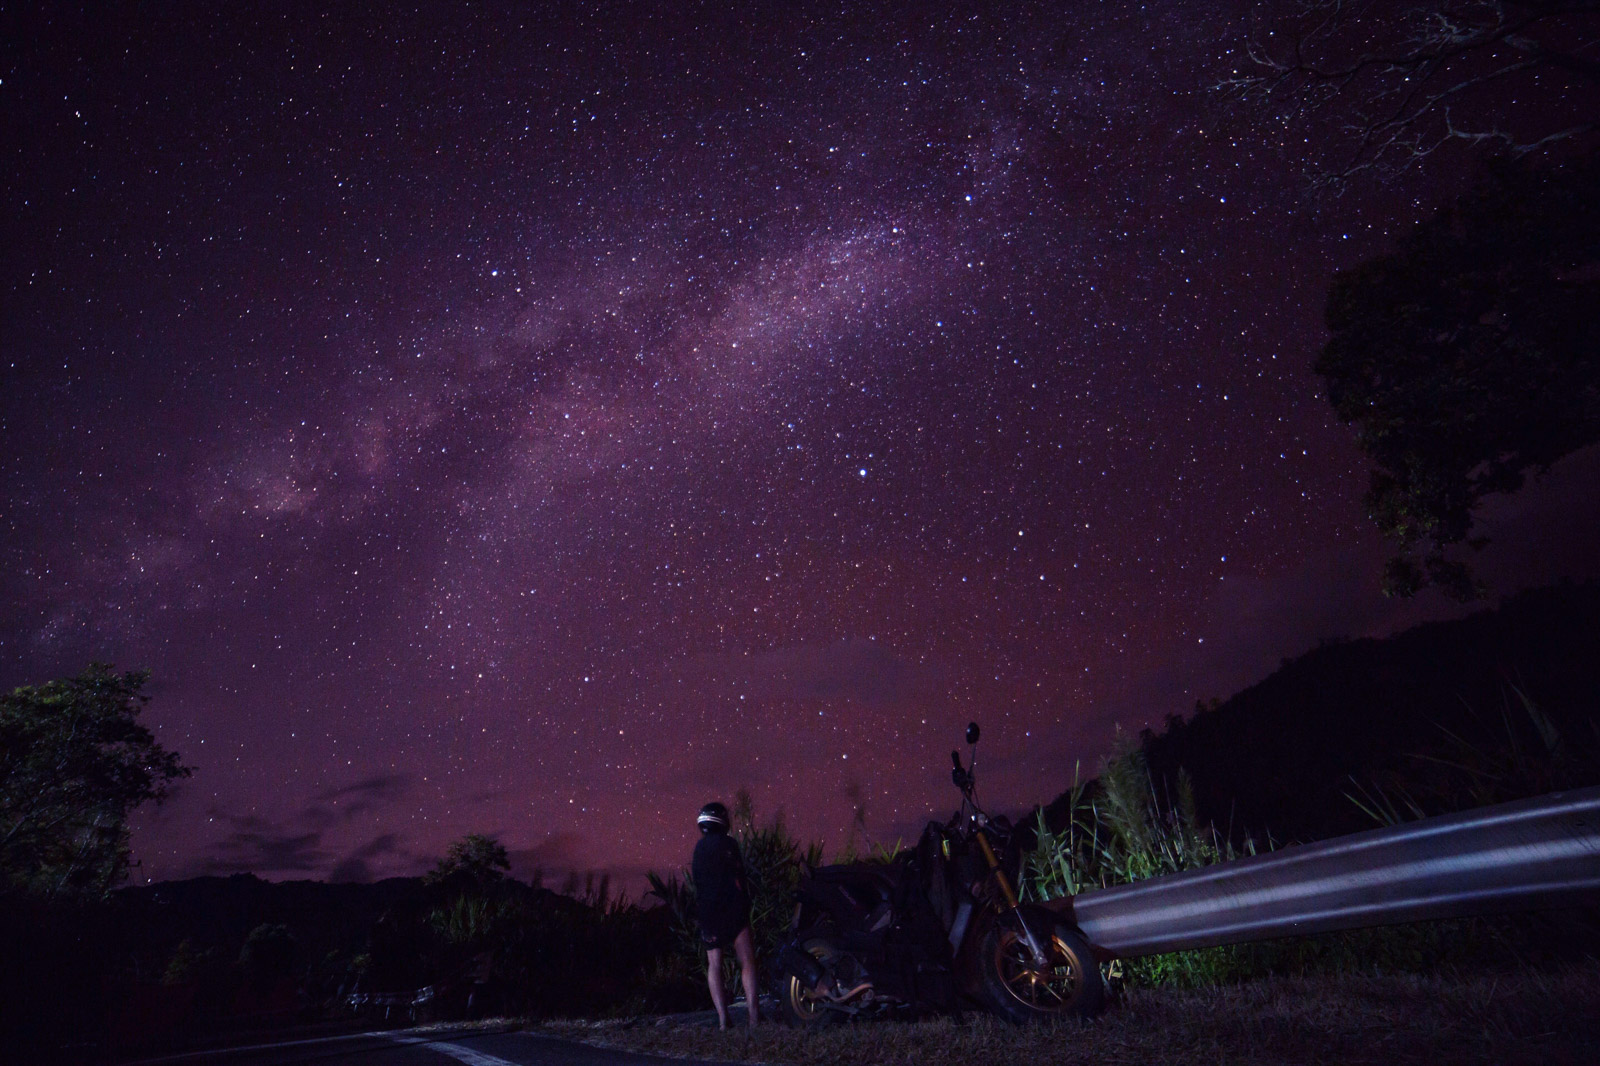
I originally purchased this for astro photography, but now I also use it for everything else. It’s extremely fun to shoot with, and it does a great job of showing me just how much work I have left ahead of me to become a better photographer. - Carrying and protection
- Peak Design Capture Clip Pro (Amazon)
I can’t say enough good things about this little gadget, I use it to carry my camera on my shoulder strap. This keeps my camera out of the way, safe, and within a moments reach so I wind up taking many more photographs than when my camera is tucked into a backpack. - Peak Design Shell – Medium (Amazon)
Essentially a fitted rain jacket / protective sleeve, it works great and provides some padding so I feel better about tossing my camera into a backpack for transport.
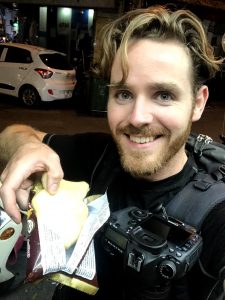
A Canon 5d secured via Peak Design Capture Clip
(as well as an ice cream filled fish-shaped treat and a ridiculous hair situation)
Tripod setup
- Ultrapod II Mini Tripod (Amazon)
- Mini Arca clamp (Amazon)
- Glif smartphone tripod mount (Amazon)
I used this mounted to an extra ARCA plate, so that I could quickly swap the tripod between camera or iPhone. - Other accessories
- Lightweight USB Canon battery charger (Amazon)
- Peak Design Capture tool (Amazon)
This ultralight-tripod setup actually worked quite well — I was able to shoot some great night shots with it. I’m glad I brought the smartphone mount as well, it made shooting timelapses and other fun shots quick and easy.
Clothing
I kept clothing quite simple and lightweight:
Tops
- 2 tank tops
- 1 lightweight wool t-shirt
- 1 lightweight wind breaker
Bottoms
- 1 pair of shorts
- 1 pair of running shorts, with liner (also used as swimming trunks)
Other
- 2 pairs of Exofficio boxers
- 1 pair of Chaco sandals
- 1 par of Vibram Five Fingers
a backup pair of lightweight shoes — and like the sandals they don’t require socks – so I didn’t need to pack any! - 1 headband
Having such a minimal amount of clothing meant I’d usually need to wash something every night or two to be clean for the next day. I would do laundry in the sink if there was a good one available, but usually I would wash my clothes in a dry bag. This wound up being very handy, I never had to use dirty sinks, search for a way to plug the drain, or hog the only sink in a bathroom for too long. Just fill the dry bag with some water, add your clothes, pour in some soap, and seal it up. Shake it around a bit, let it sit for awhile to soak, then dump it out and add some fresh water to rinse. I carried a piece of tent cord (guyline) that I would tie up to hang my clothes for drying. There was always somewhere that worked outside, or between the pillars of my bunk bed in the hostel.
Looking back on it, having an extra pair of shorts would have made doing laundry easier — but I don’t have any big regrets around taking such a minimal amount of clothing. I did pickup a beanie to help keep me warm while trekking in northern Vietnam (Sa Pa) where the weather was significantly cooler.
Other Gear
With clothing and photography handled, here are the other bits of gear and electronics that I carried to make the trip much more enjoyable. I’ll also list the iPad and accessories here:
- REI Vagabond 40L Pack – my backpack for the trip
- Passport & International Drivers License
You can pickup the drivers license from your local AAA for ~$20. It saved me money and hassle in Chiang Mai when I was stopped by the police. You’ll need a motorcycle license for the motorbike/scooter endorsement however. - Sunglasses
I took a pair of ESS Crossbow sunglasses. I picked these because they are also safety glasses rated for military use. It might sound over the top, but it gave me peace of mind while flying through the streets of Bali and Thailand on a scooter. Take a pair of clear lenses with you and you’ll be equipped for night riding as well. - Microfiber bag
used to store sunglasses, and clean sunglasses or camera lenses - Earplugs
- REI travel towel
- 1 Strand of tent cord (guy line) used for hanging laundry
- SeaToSummit 20L Drybag
used to protect electronics in rain, and to wash laundry in
Electronics
- iPhone
Charging equipment
- 1 Anker IQ 4 port USB wall charger
- enough fast-charging USB ports to charge all my gadgets at once*
- 2 extra-long lightning charging cables
- 1 extra long micro usb charging cable
- 1 travel power adapter
only needed it once, there are international outlets available nearly everywhere
iPad
- 10.5” iPad Pro
- Apple keyboard case
- Case (Khomo brand)
- Padded carrying case (Tomtoc brand, also held my kindle)
- Apple Pencil
- Apple thunderbolt to SD card reader (Amazon)
- Kindle Voyage
- Earbuds
I’m not going to list it here, but I also carried a ziplock bag of personal care items. Deodorant, toothbrush, flossers, toothpaste, etc. These items are included below in my list of weights.
Weigh everything
Although it seems a bit over-the-top, I can’t recommend this step enough. If you really want to pare down your pack weight, you’ll need to pull out a scale and get to work. Personally I have an OXO kitchen scale (Amazon) that I absolutely love and use for everything.
Here is a list of everything I carried, and the weights for each item:
It’s only once you see the weights in front of you that you can make really good decisions about what’s worth it, and what isn’t.
By weighing everything, I learned that my sandals were way heavier than I’d have ever guessed. They’d better spend all of their time on my feet. I learned that my camera body weighs more than ten(!) pairs of boxers, and that carrying extra body/lens caps, “just in case” wasn’t worth it. You’ll learn that not bringing a small bottle of clothing wash offsets the weight of your wallet.
You’ll also learn that the additional weight to carry the extra-long phone charging cables is absolutely worth it — because the power outlet is always in a weird place.
Some exceptions, and a brief note about the quality of goods abroad
Although you can get mostly anything abroad, there are a few exceptions where it’s best to take it with you if you’re cost-conscious or particular.
Although the United States in general has a much higher cost of living than Southeast Asia, it’s important to know that the cost of name-brand consumer goods can be much higher, as well as the prevalence of counterfeit products. Bring your iPhone, Bose headphones, and Nike sneakers from home. If you value the quality of genuine Ray Ban or Oakley sunglasses, bring them from the USA. If you just want the look, buy knockoffs in Asia for $3. The same goes for any name-brand designer or clothing goods.
All of the brand name products at every night market and street stall I visited seemed to be 100% counterfeit, across all the countries I visited. This didn’t really bother me frankly, because I think if you go to these countries to find a deal on Adidas pants you might be missing the point. That being said, you can find the genuine article at the high-end malls, but they do charge western prices — in fact, it’ll often cost you 10-20% more than back home in the US.
Another note, if you’re as pale as I am, bring your own sunscreen. It’ll save you a fortune in Bali, Thailand, and just about everywhere else. The same goes for other name-brand toiletries or other consumer products you don’t want to go without.
Wrap-Up
I spent quite a bit of time figuring out what to carry, making sure I could accomplish my goals while carrying as little weight as possible — and I hope it helps you plan for your next adventure.
No matter what decisions you make, try to take less than you think you’ll need. It’ll be a fun, rewarding, and challenging exercise. And I truly believe that the less we carry with us, the more we can focus on the experience rather than our own belongings.
Have fun out there!